

Renovation & Upgrading
UA Engineering Blog & Insights
The Final Renovation Inspection Checklist Every Homeowner Needs
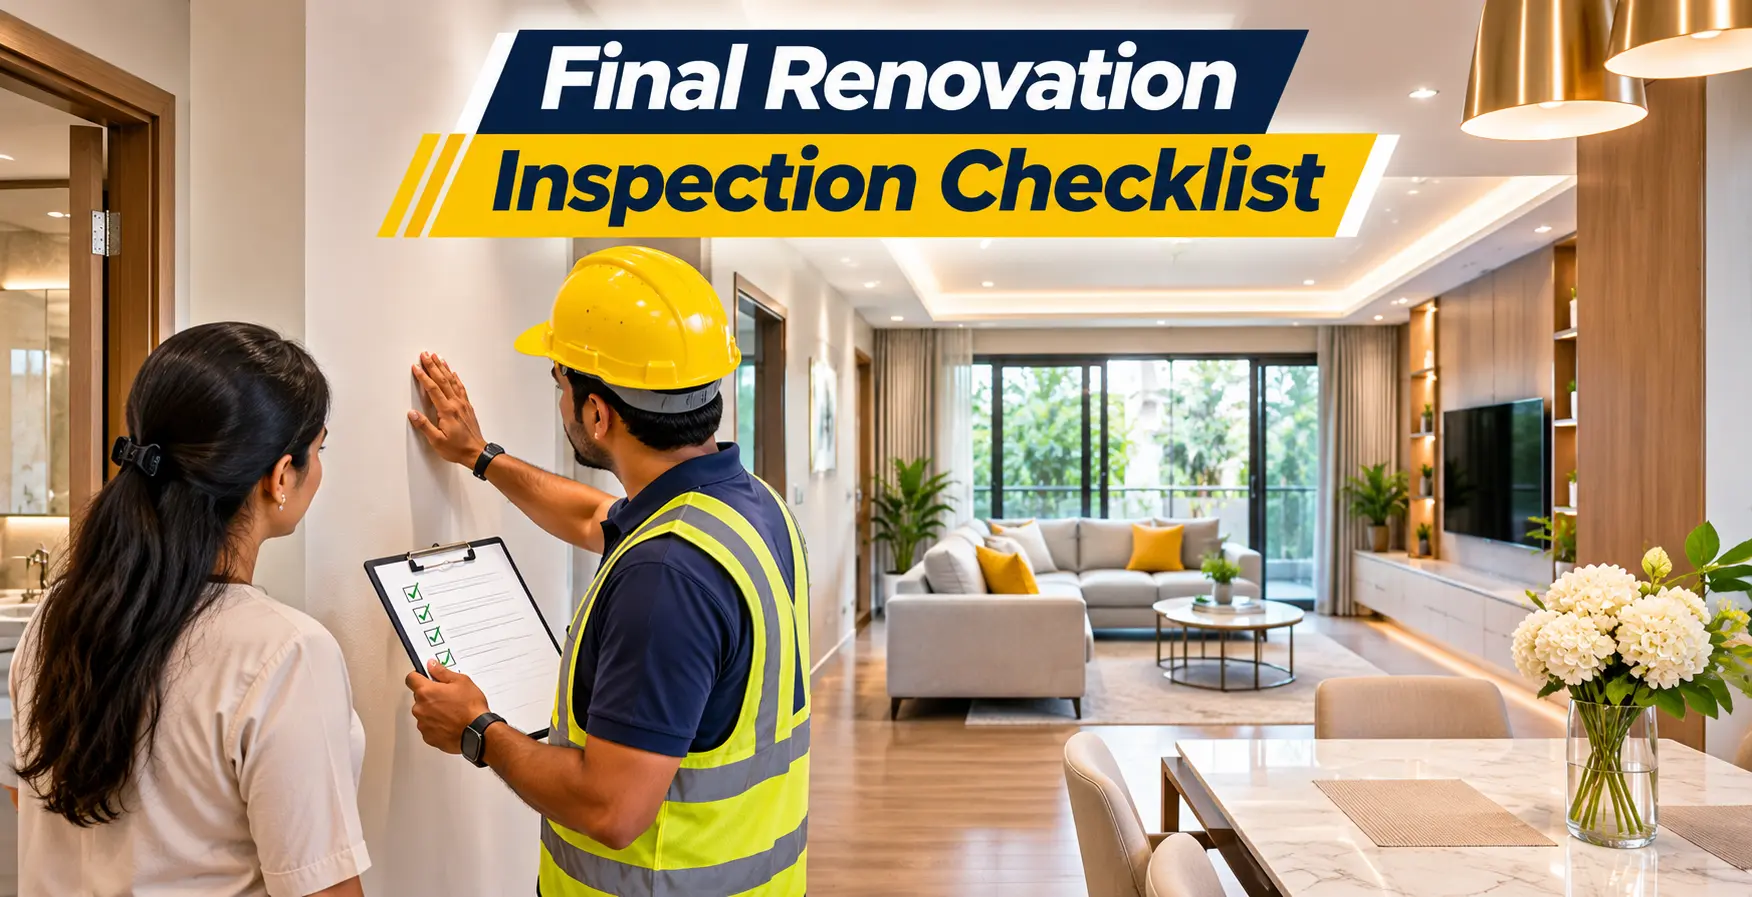
Completing renovation work is an exciting milestone, but the project should not be considered finished simply because the workers have left the property. Before accepting the handover, homeowners should inspect the completed work carefully and confirm that it matches the agreed quotation, drawings, material specifications and project requirements.
Small defects can be easier to identify while the contractor and relevant workers are still available. Uneven paint finishes, loose cabinet hinges, damaged flooring, leaking plumbing connections or incomplete installation details may become more difficult to address after furniture and personal belongings are moved into the property.
A final renovation inspection is therefore an important part of protecting your investment. It allows you to identify visible defects, check the operation of fixtures and fittings, confirm that agreed work has been completed and arrange further assessment where technical expertise is required.
This guide provides a practical room-by-room inspection process for Singapore homeowners. It covers walls, ceilings, doors, windows, flooring, painting, plumbing, electrical installations, waterproofing evidence and the agreed project scope. It also explains which checks homeowners can carry out visually and which should be handled by qualified professionals.
1. Prepare Before the Final Inspection
A useful inspection begins with the project documents. Do not rely only on memory or a general impression of the finished property.
Prepare the following documents before meeting the contractor:
Accepted quotation and contract.
Final scope of work and itemised specifications.
Approved drawings or layout plans, where applicable.
Material and product selections.
Written records of approved variations.
Relevant permits and approval documents.
Product warranties and installation information.
Testing records or certificates where required.
Agreed completion and handover requirements.
Read through the documents and identify what should be present in each room. For example, if the quotation includes replacement of bedroom flooring, skirting, repainting and new door hardware, inspect each of these items separately.
Prepare a list with three possible statuses:
Completed: The agreed work appears to be finished.
Defect or incomplete: The item requires correction or completion.
Professional verification required: The item needs a qualified person, test or supporting document before it can be accepted.
This simple approach helps prevent important items from being overlooked.
2. Inspect the Entrance and Common Areas
Begin at the main entrance and move through the property in a consistent direction. Check the entrance door, surrounding wall finishes, flooring, skirting and any renovated common areas.
Entrance door and frame
Check visually for:
Scratches, dents or damaged surfaces.
Uneven paint or finishing.
Loose handles, locks or hinges.
Door rubbing against the floor or frame.
Gaps that appear inconsistent with the agreed installation.
Smooth opening and closing.
Secure operation of the lock and latch.
Open and close the door several times. It should operate without unusual resistance or excessive noise.
If the door was replaced or adjusted, compare its appearance and hardware with the agreed specification. Do not attempt to adjust specialised door mechanisms yourself if the installation requires a technician.
Common-area walls and ceilings
Look for visible cracks, stains, uneven patches, paint marks and incomplete finishing around corners, switches and door frames.
Check that protective coverings, packaging, debris and unused materials have been removed as agreed.
Homeowner visual check: Surface appearance, door operation, visible damage and general cleanliness.
Professional assistance: Structural cracks, suspected movement, damaged fire-rated components or other conditions that require technical assessment.
3. Inspect the Living and Dining Areas
Living and dining spaces often contain several types of finishing work. Inspect each surface under normal room lighting and, where practical, in daylight.
Walls and painting
Look for:
Uneven colour or visible patches.
Missed areas around corners and edges.
Paint splashes on flooring, switches or fittings.
Peeling, bubbling or blistering.
Visible cracks or poorly repaired holes.
Rough finishing around skirting and door frames.
Inconsistent texture where a uniform finish was agreed.
Stand at different positions in the room and view the walls from more than one angle. Check areas near windows because natural light may reveal surface irregularities that are less obvious under artificial lighting.
Do not assume that every small variation in texture is automatically a defect. The accepted paint specification, surface condition and agreed workmanship standard should guide the assessment.
If bubbling, damp patches or recurring stains are present, ask the contractor to investigate the cause rather than simply applying another coat of paint.
Ceiling and lighting finishes
Check for visible cracks, stains, uneven joints, gaps around ceiling fixtures and unfinished edges.
Confirm that installed light fittings match the agreed product and position. Look for loose covers, damaged trims and incomplete finishing.
Homeowner visual check: Paint appearance, visible ceiling condition, fixture alignment and cleanliness.
Professional assistance: Electrical connections, concealed wiring, suspected structural movement or persistent moisture.
4. Inspect Flooring and Skirting
Flooring is a major visual feature and should be inspected throughout the property.
Check:
Consistency of colour and finish.
Visible scratches, chips or cracks.
Uneven edges and transitions.
Gaps between flooring and skirting.
Loose or damaged skirting.
Exposed adhesive or unfinished edges.
Door clearance after flooring installation.
Visible stains or residue.
For tiled floors, examine grout lines for missing sections, visible gaps, cracking or inconsistent finishing. Look for obvious lippage, where adjacent tile edges are at noticeably different heights.
For timber, laminate or vinyl flooring, check for lifting edges, open joints, visible damage and areas that appear uneven.
Walk normally across the completed floor and pay attention to unusual movement or noise. Do not use excessive force or attempt informal load tests.
If the quotation includes floor polishing, compare the finished appearance with the agreed finish and check whether the specified areas have been completed.
Homeowner visual check: Surface condition, visible alignment, transitions, skirting and obvious movement.
Professional assistance: Suspected substrate failure, significant unevenness, persistent hollow or loose areas, or problems requiring specialised moisture or installation testing.
5. Inspect Bedrooms and Wardrobes
Bedrooms should be checked for both finishing quality and everyday functionality.
Doors and windows
Open and close each door and window. Check that handles, hinges, locks and latches operate correctly.
Look for:
Scratches and damaged finishes.
Misaligned door leaves.
Loose handles or hardware.
Difficulty locking or unlocking.
Visible gaps around frames.
Damaged seals or incomplete sealant.
Window panels that appear loose or damaged.
Do not lean on windows, apply force to glass panels or attempt to test safety-critical components yourself. If a window appears loose, damaged or unsafe, keep clear and arrange an approved window contractor or other appropriate professional to inspect it.
Wardrobes and carpentry
If wardrobes or built-in cabinets were installed, check:
Door alignment.
Smooth opening and closing.
Drawer movement.
Hinges and runners.
Handles and accessories.
Edge banding and visible joints.
Internal shelves and partitions.
Scratches, chips or damaged laminate.
Consistency with the approved layout.
Open every door and drawer. Check that internal fittings and storage sections match the agreed drawings or quotation.
For sliding doors, observe whether the panels move smoothly and remain properly aligned. Do not dismantle tracks or adjust concealed hardware unless instructed by the installer.
6. Inspect the Kitchen
Kitchen renovation often combines carpentry, plumbing, electrical work, countertops, tiling, appliances and ventilation. Inspect each component separately.
Cabinets and countertops
Check cabinet doors, drawers, hinges, runners, handles and internal shelves. Confirm that the number and arrangement of cabinets match the approved design.
Inspect countertops for visible chips, cracks, stains, uneven joints and unfinished edges. Check the backsplash and sealant around sinks and work surfaces.
Sink and plumbing
Look beneath the sink for visible moisture, dripping connections or signs of leakage. Run the tap and observe the visible water flow and drainage.
Check:
Tap operation.
Visible pipe connections.
Sink mounting and sealant.
Drainage behaviour.
Cabinet surfaces around plumbing connections.
Signs of water damage or persistent dampness.
A homeowner can carry out a basic visual observation, but concealed pipework, regulated alterations and plumbing defects should be assessed by an appropriately qualified professional.
Kitchen appliances
If appliances were included in the contract, confirm that the correct models were supplied and installed.
Check visible installation, doors, controls and basic operation according to the manufacturer's instructions. Do not open electrical panels or attempt internal repairs.
Homeowner visual check: Cabinet finishing, countertop appearance, visible connections and basic appliance operation.
Professional assistance: Electrical connections, plumbing alterations, gas-related work, concealed leaks and appliance faults requiring technical diagnosis.
7. Inspect Bathrooms and Toilets
Bathrooms require particular attention because they contain water supply, sanitary fittings, drainage, waterproofing and moisture-sensitive finishes.
Sanitary fittings
Inspect:
Toilet bowl and cistern.
Basin and tap.
Shower fittings.
Mixer controls.
Shower screen or enclosure.
Accessories and mounting points.
Sealant around fixtures.
Visible pipe connections.
Flush the toilet and observe whether it operates normally. Run taps and showers briefly, where safe and appropriate, and look for visible leaks around accessible connections.
Check that water drains away without obvious pooling or persistent slow drainage.
Tiles and grout
Look for cracked tiles, missing grout, damaged edges and incomplete sealant. Pay attention to corners, floor-to-wall junctions and areas around sanitary fittings.
Waterproofing evidence
Waterproofing is not fully verified by appearance alone. A neat tile finish does not prove that the concealed waterproofing system was correctly installed.
Ask for relevant records, where applicable:
Waterproofing product or system details.
Installation records.
Curing information.
Water ponding or other specified test records.
Photographs taken before tiles or finishes concealed the work.
Rectification records, if any.
Warranty documentation and its conditions.
If a waterproofing test was part of the agreed scope, confirm that it was completed and obtain the corresponding record.
Do not conduct your own ponding test or deliberately flood a bathroom without approval. Testing should follow the specified method and be arranged by the responsible contractor or qualified professional.
Homeowner visual check: Tile condition, grout, visible sealant, accessible connections and basic drainage observation.
Professional assistance: Waterproofing verification, concealed pipework, recurring leaks, drainage defects and regulated plumbing work.
8. Inspect Electrical Installations
Electrical safety should never be judged only by appearance. A switch may look neat while the wiring or connection behind it still requires testing.
Homeowners can carry out limited visual and basic operational observations:
Check that switches and socket covers are fitted securely.
Look for cracked or damaged faceplates.
Confirm that agreed switches, lights and outlets are present.
Observe whether installed light fittings operate normally.
Check for exposed wiring or unusual visible damage.
Confirm that the agreed electrical points are in the correct locations.
Do not remove socket covers, open distribution boards, touch exposed conductors or carry out electrical testing yourself.
In Singapore, electrical wiring installation, repair or modification—including new wiring and changes to power points—must be carried out or supervised by an appropriately licensed Electrical Worker (LEW). Relevant work must be tested and certified safe before supply is turned on. Ask the LEW for applicable test records and documentation.
If you notice burning smells, sparks, unusual heat, repeated tripping or exposed conductors, stop using the affected point or circuit if it is safe to do so and contact a qualified electrical professional promptly.
9. Inspect Air-Conditioning and Ventilation
If air-conditioning installation or servicing was included, check the visible installation and basic operation.
Look for:
Correct indoor unit location.
Secure visible mounting.
Neat trunking and finishing.
Accessible drainage arrangements.
Visible damage or gaps.
Remote-control operation.
Unusual noise or vibration.
Water dripping from the indoor unit.
Allow the system to operate according to the installer’s instructions and observe whether it starts and responds normally.
Do not open the unit, handle refrigerant lines or attempt electrical or refrigerant repairs. Ask the installer to check drainage, refrigerant-related concerns, electrical connections and technical performance.
For HDB flats, follow the applicable air-conditioning installation requirements and use an appropriately trained installer.
10. Inspect Aluminium, Glass and Windows
Where aluminium windows, doors, partitions or glass panels were installed, check their visible finish and operation.
Inspect:
Frame alignment and finishing.
Scratches, dents or damaged coating.
Glass chips or cracks.
Sealant and visible gaps.
Handles, locks and hinges.
Smooth movement of sliding panels.
Completion of agreed accessories.
Cleanliness of glass and frame surfaces.
Do not apply force to glass or attempt to test structural strength, impact resistance or safety-glazing performance yourself.
Ask the installer for relevant product information and documentation where specified in the quotation. For HDB window works, use the required approved window contractor and follow HDB's applicable requirements.
11. Inspect Exterior Areas, Balconies and Waterproofing Work
If the renovation includes a balcony, terrace, roof, exterior wall or shelter, inspect the completed work against the agreed scope.
Look for:
Incomplete painting or coating.
Visible cracks or damaged surfaces.
Uneven finishing.
Gaps around visible joints.
Loose or damaged accessories.
Incomplete sealant.
Signs of water staining or moisture.
Unfinished edges and exposed materials.
For waterproofing work, request the agreed system details, installation records and test evidence where applicable.
Do not climb onto roofs, access unsafe ledges or perform water tests at height. Exterior, structural and roof-related inspections should be arranged with competent professionals using suitable access and safety arrangements.
12. Compare the Finished Work With the Agreed Scope
A property can look attractive while still containing incomplete work. The final inspection should therefore include a document-by-document comparison.
Review the accepted quotation, drawings and approved variations.
Confirm:
All listed work areas have been completed.
Agreed quantities and locations are covered.
Selected materials and finishes have been used.
Fixtures and accessories match the specification.
Agreed changes have been implemented.
Excluded work has not been incorrectly assumed to be included.
Additional charges have been approved and recorded.
Required testing and documentation have been supplied.
Waste removal and cleaning have been completed as agreed.
If an item is missing or differs from the agreed specification, record it clearly rather than relying on a verbal promise to address it later.
13. How to Record Defects and Arrange Rectification
When you identify a defect, record it in a way that makes the issue easy to understand.
For each item, include:
Room or location.
Description of the issue.
Photograph or video, where useful.
Relevant quotation or drawing reference.
Whether the item is incomplete, damaged or requires professional verification.
Agreed action and responsible party.
Target rectification date.
For example:
Location: Master bedroom
Issue: Wardrobe sliding door does not move smoothly.
Reference: Approved wardrobe installation scope.
Action requested: Contractor to arrange installer inspection and adjustment.
Status: Pending rectification.
Avoid using vague descriptions such as "bad finishing" without identifying the location and problem. Specific records make it easier for the contractor to understand and resolve the issue.
Agree on a reasonable rectification schedule. If the issue requires a specialist, ask the main contractor to coordinate the relevant professional and confirm who is responsible for the correction.
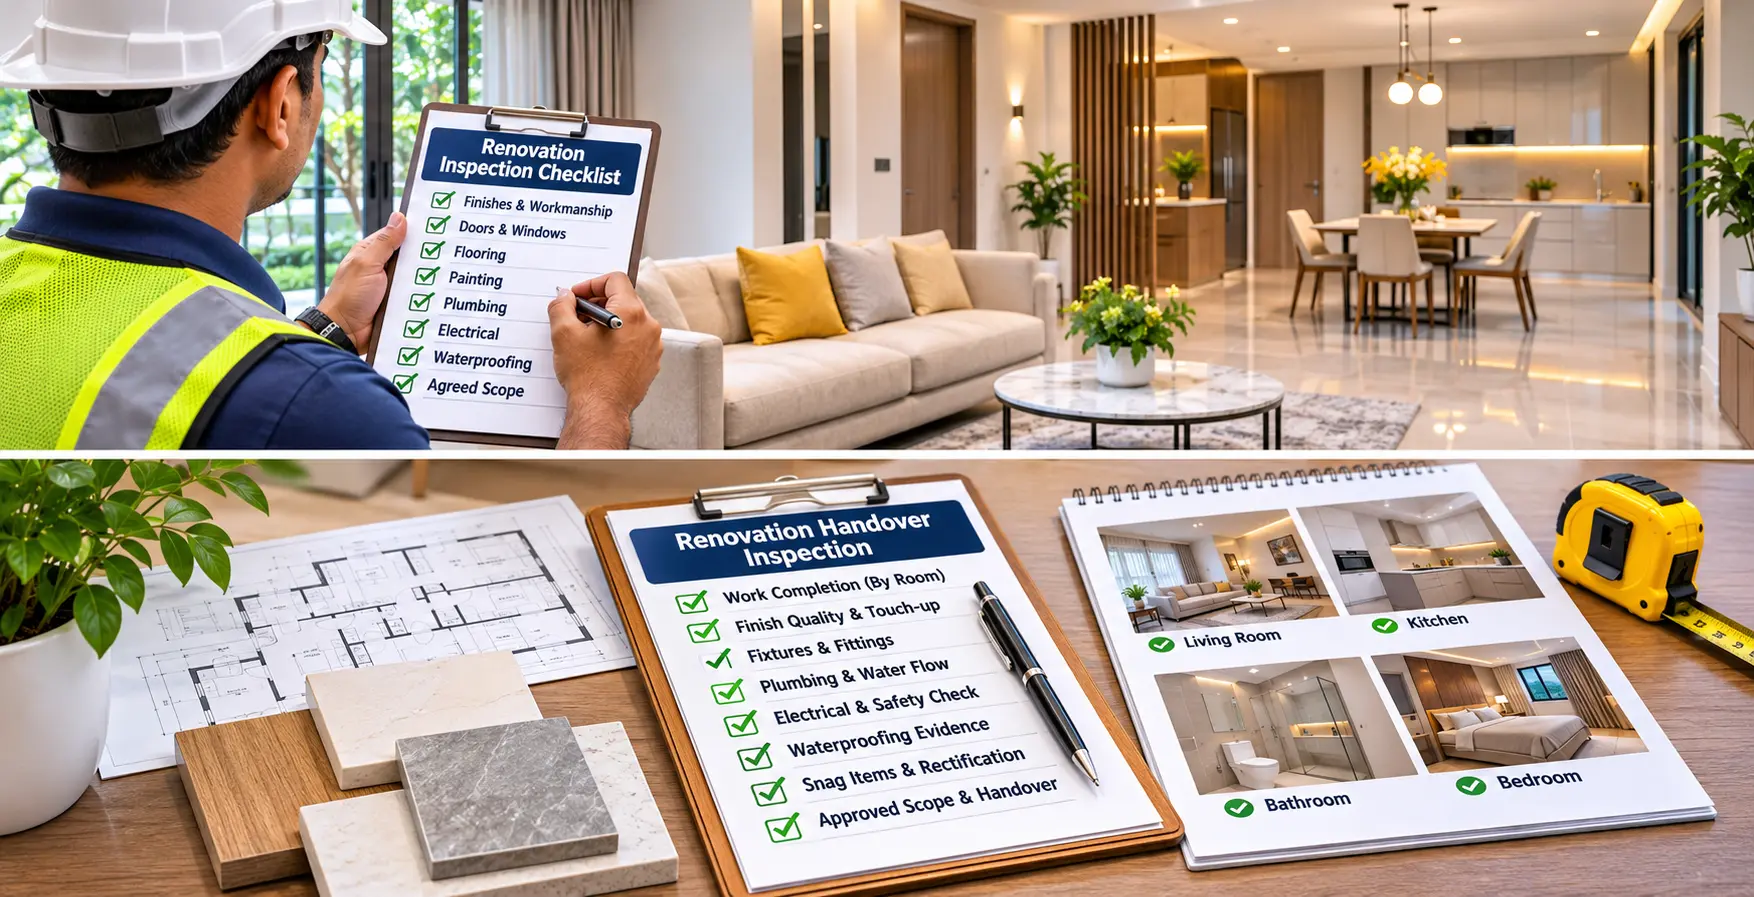
14. Practical Final Renovation Handover Checklist
Use this checklist during the final walkthrough.
Entrance and common areas
Main door, frame, locks and handles checked.
Walls and ceilings visually inspected.
Switches and fittings checked.
Flooring and skirting inspected.
Debris and unused materials removed as agreed.
Living and dining areas
Paint finish checked under suitable lighting.
Ceiling and visible joints inspected.
Flooring and transitions checked.
Lighting fixtures and agreed accessories present.
Doors and windows operate correctly.
Visible damage and unfinished areas recorded.
Bedrooms
Doors, locks and hinges checked.
Wardrobes and drawers operate smoothly.
Shelves and internal fittings match the agreed design.
Flooring and skirting inspected.
Windows and visible seals checked.
Paint and ceiling finish reviewed.
Kitchen
Cabinets, drawers and hardware checked.
Countertop and backsplash inspected.
Sink and visible plumbing connections checked.
Drainage observed.
Appliances supplied and installed as agreed.
Electrical points and lighting visually checked.
Sealant and finishing reviewed.
Bathrooms and toilets
Toilet, basin, taps and shower fittings checked.
Visible plumbing connections inspected.
Drainage observed.
Tiles, grout and sealant checked.
Waterproofing records or test evidence requested where applicable.
Leaks or moisture concerns recorded.
Electrical and technical work
Agreed electrical points and fittings present.
No visible exposed or damaged wiring.
LEW testing and documentation obtained where applicable.
Air-conditioning installation visually checked.
Specialist work records and warranties collected.
Exterior, balcony and windows
Aluminium frames and glass visually inspected.
Window operation checked without unsafe force.
Exterior coatings and finishes reviewed.
Waterproofing records requested where applicable.
Unsafe or inaccessible areas referred to professionals.
Documents and handover
Accepted quotation and approved variations reviewed.
Outstanding defects recorded.
Rectification responsibilities agreed.
Product manuals and warranties collected.
Relevant licences, certificates and test records received.
Keys, access cards and agreed items handed over.
Final cleaning and disposal arrangements confirmed.
Final payment terms reviewed against the agreement.
15. What Homeowners Should Not Attempt to Test Themselves
A final inspection is not a substitute for specialist testing or professional certification.
Homeowners can check visible finishes, operate ordinary doors and drawers, observe accessible plumbing connections and confirm that agreed items are present. However, some work requires professional assessment.
In Singapore, regulated water service and sanitary plumbing works must be carried out by PUB Licensed Plumbers, subject to specified simple-work exceptions. Electrical wiring work must be carried out or supervised by an appropriately licensed LEW. Do not sign off specialist work based solely on a visual appearance when the agreed scope requires testing, certification or professional documentation.
16. How UA Engineering Pte. Ltd. Supports Property Improvement Projects
At UA Engineering Pte. Ltd., we understand that a successful renovation involves more than completing the installation. Clear communication, agreed specifications, suitable materials, proper coordination and attention to finishing details all contribute to the final result.
Our services cover renovation and upgrading, structural and exterior works, painting and waterproofing, aluminium and glazing works, electrical, plumbing and air-conditioning services, and solar panel installation.
Every project has its own requirements. Homeowners should discuss the expected work scope, materials, technical responsibilities, applicable approvals and handover expectations before work begins.
If you are planning a home renovation or property improvement project in Singapore, contact our team to discuss your requirements and arrange a suitable assessment.
UA Engineering Pte. Ltd.
𝗪𝗲𝗯𝘀𝗶𝘁𝗲: https://uaengineering.com.sg/
𝗪𝗵𝗮𝘁𝘀𝗔𝗽𝗽 / 𝗖𝗮𝗹𝗹: +65 8459 3003
Conclusion
The final renovation inspection is an important opportunity to confirm that your property has been completed according to the agreed scope and that visible defects or incomplete work are properly recorded.
Inspect each room systematically. Check finishes, doors, windows, flooring, painting, cabinets, plumbing fixtures and other visible components. Compare the completed work with your quotation and approved variations, and request the relevant records for technical and regulated activities.
Remember that visual inspection has limits. Electrical safety, regulated plumbing, concealed waterproofing and structural concerns may require qualified professionals, specified tests or supporting documentation.
A careful walkthrough, clear defect records and an agreed rectification process can help make the handover more organised and reduce the risk of unresolved issues after the renovation team leaves.
Keep this checklist for your next renovation project and use it before confirming final acceptance and payment under your agreement.
Recent Articles

Why Homeowners Need a Reliable Partner for Renovation and Upgrading
November 12, 2026
Why Is Paint Peeling Off Exterior Walls, and What Should You Do?
November 11, 2026
Steel Fabrication and Installation in Singapore: Applications, Quality and Safety Guide
November 10, 2026The Final Renovation Inspection Checklist Every Homeowner Needs
November 9, 2026
How to Create a Realistic Home Renovation Budget in Singapore
November 8, 2026
How to Compare Renovation Quotations in Singapore: A Practical Guide for Homeowners
November 7, 2026
Home Renovation Mistakes That Can Cost Time and Money
November 5, 2026
Handyman vs Renovation Contractor vs Specialist Tradesperson: Who Should You Hire?
November 4, 2026
How to Plan a Home Renovation in Singapore: A Complete Guide for HDB, Condo and Landed Homeowners
November 3, 2026